This post is actually an excerpt from my upcoming Boy In The Kitchen Cookbook so that you can get a taste of what’s to come. Here, I go over some basics of searing a steak. Enjoy!
***
I have a big gripe with Filipino food. Don’t get me wrong, I love this stuff, but sometimes there are certain things that just erk me. No, it’s not the “chocolate meat” nor is it chicharon bulaklak. The “weird” stuff can be delicious. Balut isn’t even bad if you ask me. But what gets me is how overcooked a lot of stuff is. Especially true is our beef. What were our ancestors afraid when they made bistek Tagalog of that the French weren’t when they made steak tare-tare?
I’m not going to argue with people who insist that they might get sick because there’s a streak of pink in their steak. You’ll live. But if you ordered your ribeye medium-rare at the steakhouse last week and you’re cooking bistek tonight like most other Filipino kitchens do, we have a discrepancy here.
Why people cook a flank steak up to serving temperature then completely over cook it by braising it further in soy sauce and citrus on the stove still is beyond me. Steak barely even shows up in Filipino food at all, and when it does, it’s cooked to the point of beef jerky. In an attempt to make up for it, it’s drowned in a salty sour sauce. If I have anything to do with it, I’ll take my steak medium-rare thank you very much. 130-140 degrees Fahrenheit based on my trusty thermometer. Steak cooked to well done at 165 and up couldn’t be saved with all the sauce and fat in the world. It would simply just be wet jerky.
On Cooking Steaks Better
Ever since the beginning of time, the conventional thought when throwing a piece of meat on the pan/grill was to leave it there for a certain number of minutes then flip once to cook the other side. “Don’t move it!” many said, “It’ll cook slower and won’t develop a nice brown exterior!” Thanks to curious cooks like Harold McGee and food lab experts like J. Kenji Lopez-Alt, repeated experiments show that flipping your meat multiple times results in a crust just as nicely brown and a steak done in less time. Yes, it looks like conventional wisdom got this one wrong and all the one-flip-steak nazis had no basis. I’m going with the new results and bringing you on board.
For our pan seared steaks, we’ll be flipping every 30 seconds. As we flip often, each side doesn’t really get a chance to cool down, so we’re basically cooking both sides at the same time. Hence, the steak cooks faster this way as opposed to the conventional method of flipping only once. It’s kind of like using a Foreman grill, except we ain’t knockin’ out the fat (which is a good thing – believe me).
An important thing to note is you’ll want the surface to be as dry as possible since any liquids can inhibit the browning process. To help, make sure you dry your meat as much as possible with some paper towels before throwing them on the heat.

Ideally, you’ll want to end up with a steak that has a nicely browned exterior, which adds a nice flavor to compliment the juicy interior. For this to happen, you need protein and sugar (both of which are already naturally occurring in our food) combined with heat at least 285 degrees Fahrenheit. Anything under and the browning practically doesn’t take place. The higher the heat, the more accelerated the results. Ideally, a pan temperature in excess of 350 degrees Fahrenheit is ideal for searing and sautéing, which can be accomplished by setting your burner on medium high to high heat and waiting for the pan to heat before adding the meat in. Any less heat and you’ll overcook the interior before you get a nice finished brown exterior.

On Timing and Doneness
Before we proceed, make sure you have your thermometer. You got one just like I suggested right? **High five!** If you haven’t already, stop being hard headed and get one already. You’ll definitely need it.
Instant read thermometers will work best in this application, but if you only have an in-oven probe thermometer, it’ll still do fine. The only difference is you’ll have to wait a few seconds for the actual reading when you stick the probe in. If you get a Thermapen from Thermoworks like what I’m using, your reading will be practically instantaneous. For a more budget friendly option, look at their Thermopop line of instant reads, which isn’t as instantaneous, but close enough.
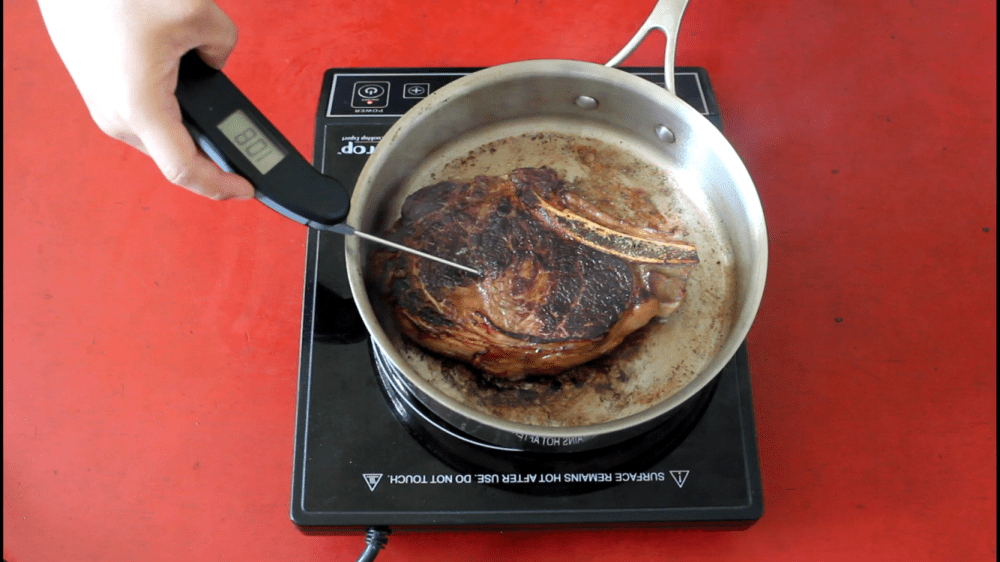
For this technique, I’d really hate to give you any cooking times. I don’t want you to rely on time and focus on the temperature of the meat to tell you when to take off the heat. I’d suggest to start taking temperature readings after the 8th minutes or so (about twenty flips) and gauge how long you should keep going from there. I’ll give you one hint – it definitely should not take you half an hour for a 1-inch thick steak.
As far as doneness goes, I always go for medium rare (which I suggest you do too if you care about the quality of your steak). I understand that people will have their preferences ranging from rare all the way to well done (bleh!). In any case, it’s best to check by internal temperature than to rely on cooking time or feel. I’ve set you up with a temperature chart below.
Meat Temperature Cheat Sheet:
Rare: 125-130 degrees F (Remove the meat at 120 degrees F)
Medium Rare: 130-140 degrees F (Remove the meat at 125 degrees F)
Medium: 140-150 degrees F (Remove the meat at 135 degrees F)
Medium Well: 150-155 degrees F (Remove the meat at 145 degrees F)
Well Done: 160-165 degrees F (Remove the meat at 155 degrees F)
Overcooked: +165 degrees F (why bother?)
Notice that there are notations as to which temperatures to remove the meat from the heat. This is because the meat still cooks internally after you remove it from the pan (or any method where you cook with heat 300 degrees F or above). You’ll hear this a lot as carryover cooking, where the internal temperature will still rise 5-10 degrees F due to the excess heat from the exterior. So when you’re cooking meat at high temperatures, you want to remove it 5-10 degrees F less than your final target internal temperature.
If you really really MUST have a cooking time for the sear (maybe your thermometer is still coming in the mail?), about 10 minutes of multiple flipping will get you to medium rare for a 1” steak and about 12 minutes for a 1.5” steak. Times will vary.
On Seasoning and Marinating
For seasoning, I usually don’t do anything more than good ol’ salt n’ peppa. But when I feel like changing it up, sometimes I’ll do a marinade of good ol’ soy sauce n’ calamansi! What? No calamansi at your neighborhood Trader Joe’s? Kawawa. No worries, lemons can do just fine.
If you have access to a Filipino or other Asian markets, you may be lucky to find some fresh calamansi. But if there’s no sight of the tasty little suckers in the produce sections, look for the bottled juiced stuff.

Get bottles that are as pure calamansi juice as possible. I always reach for the Sun Tropics brand, which is 100% juice without the additional sweeteners and bs.


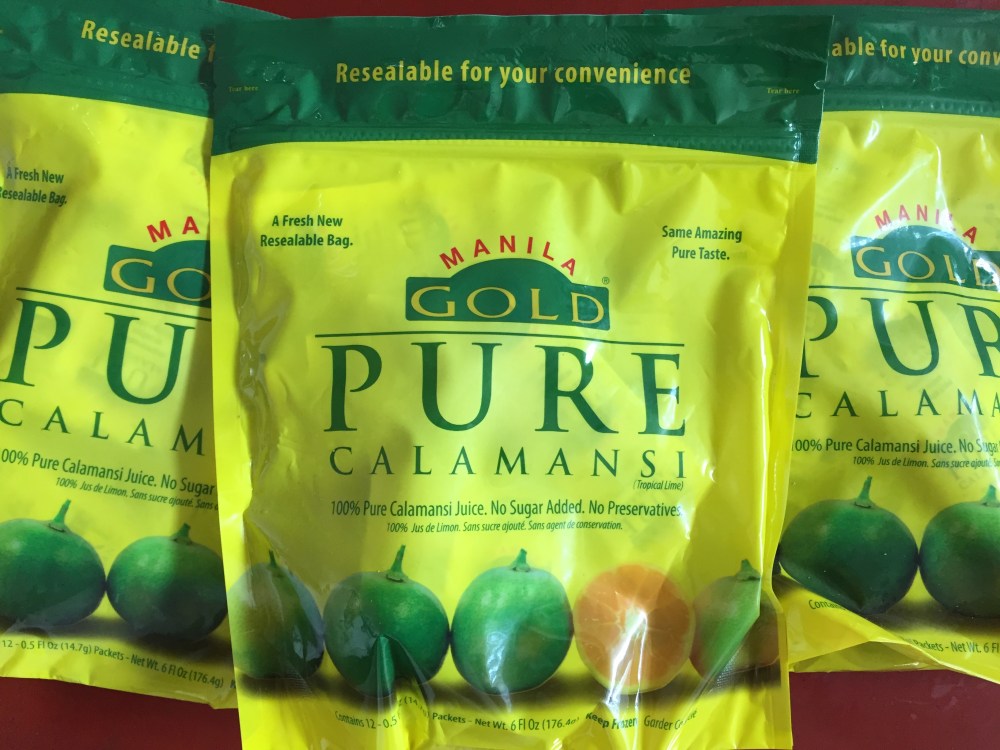
What might be another good option if the fresh stuff isn’t around is the frozen calamansi packets if the store has them in stock. Manila Gold actually blast freezes the juice shortly after extracting them from the fruit, adding nothing. 100% juice.
You’ll want to marinate the steak for at least one hour, otherwise the marinade flavors won’t penetrate the meat enough. However, you do not want to marinate the steak for more than 11 hours, otherwise the acid will denature the steak, chemically cooking it (think ceviche or kinilaw), resulting in a tough and gritty texture.
I like to marinate my meats in plastic bags with zipper top seals. For maximum coverage, I first seal the bag but leave an opening about an inch or two. Then I slowly submerge the bags in a big bowl or pot of water, which releases most of the air. Then when I get the closest I can to the top corner where the opening is, I seal the rest of the zipper. Now you have a vacuum sealed bag so that marinade can cover all surfaces of the meat.


On Cut of Steak
Now, bistek is usually made with flank steak. But more, we’re gonna have bistek my way damn it! Ribeyes are a good cut of steak. Actually, they’re a DAMN good cut of steak. If you’re craving for some steak but find yourself standing in meat section for 30 minutes (and counting) because you’re not sure to what the difference is between flank, flap meat, ribeye, chuck-eye, top sirloin, yadda, yadda, yadda, just go for the ribeye.

You can’t go wrong with a ribeye if you’re gonna pan sear or grill a steak. Trust. Yes, you’ll have to shell out a few more dollars than if you were to go for the flank. But if you want to treat yourself to a good piece of meat, ribeye will undoubtedly do the job. It has a good amount of fat to keep the meat flavorful and juicy. Cooked right, you get that tender, chewy mouthfeel that you look for in a good steak. We’ll cover more on choosing beef cuts later on, but for now let’s keep it simple.
RIBEYE BISTEK TAGALOG– Pan Seared Ribeye Filipino Beefsteak and Onions
- 1 Rib-eye steak at least 1-inch thick
- 1/4 Cup Soy Sauce
- 1/4 Cup Calamansi Juice
- 1 Medium Onion (Or 1/2 Large Onion)
- Salt & Pepper To Taste
- 1 Tablespoon Cooking Oil
Active Time: 25 Minutes
Total Time: 25 Minutes (Plus 1-11 Hours Marinating Time)
Prep.
- Combine soy sauce & lemon juice.
- Place the steak in a zip top plastic bag and pour in the soy sauce/calamansi marinade.
- Start sealing the bag, but leave a little 1-2 inch opening.
- Release the air from inside the bag by slowly submerging the bag in water. Once you get close to the opening, seal the bag shut. Make sure no water gets inside the bag.
- Let steak marinate in the fridge for about at least 1 hour, but no more than 11 hours.
- Cut the onion into thick strips (or rings. It really doesn’t matter). Then, set aside.
Pick up.
- Put a skillet big enough for the steak over medium heat with about a tablespoon of cooking oil.
- Take the steak out and pat dry with paper towels.
- Once the oil become shimmery and borderline smoky, place the steak in the skillet.
- Flip the steak every thirty seconds. After about 8 minutes (or about 20 flips) start taking temperature readings. Continue to cook and flip the steak as usual until the internal temperature hits 125 degrees F, then take the steak out of the skillet and set aside.
- Don’t cut it yet! If you do so now, all the flavorful meat juices will run out of the steak and leave it dry on the inside. Take note of the time and just let the steak rest for 10 minutes. While we’re waiting on that, move on to the next step.
- Lower the heat to medium and throw in the onions on the skillet to sauté.
- Once the onions have become soft and translucent, pour in the marinade mixture and deglaze the pan by scraping the browned bits and pieces at the bottoms of the pan.
- Let the pan simmer for about 2 minutes. Taste your newly made pan sauce and adjust to your taste (add any salt, soy sauce, or more calamansi until you think it’s delicious enough.
- Once the 10 minute mark for resting the steak has passed, cut into and devour your steak.
- Share this recipe with a friend so that you won’t have to share your steak and send me a thank you message.

